

Creating a custom photobook is one of those things you think will take ages…
But then you sit down, and suddenly you’re having the time of your life reliving every cute, chaotic, and questionable moment you’ve ever captured.
Honestly, I have thousands of photos and videos on my phone. (What parent doesn’t, right?)
I also shove my photos into random folders in my Dropbox.
Then forget about them…
Then cry a little inside when I can’t find that ONE picture of my child I’m looking for.
So, making a photobook?
Life changing.
And the best thing?
Creating a children’s photobook is way easier (and cheaper) than people think!
If you’re totally new to it, this post has you covered.
I’ll walk you through what a photobook actually is, which tools you need, how to plan it, how to design it, and how to make sure it doesn’t look like a chaotic collage made by a toddler.
I’ll also give you tips, shortcuts, and ideas to help you finish your book fast (because let’s be honest, you do NOT need another unfinished project haunting you at 3 a.m.).
Ready?
Let’s crack on.
What You Need Before Creating a Custom Photobook
Before we get to the fun part (making magic), let’s gather a few basics.
I promise this won’t feel like packing for a family holiday.
You only need three things.
1. Your photos (obviously)
This is your treasure chest.
But here’s the trick: don’t start with 8,000 photos. Your brain will melt.
Pick a theme first , it makes sorting much faster. It could be:
-
Baby’s first year
-
A holiday
-
A birthday
-
Family highlights from the year
-
“Our life before children… when we slept”
Once you’ve chosen a theme, gather 40–120 photos.
More than that, and your photobook starts looking like a camera roll that escaped.
2. Mixbook (my go-to platform)
If you want something simple and beautiful, I recommend Mixbook.
It’s user-friendly, has amazing templates, and gives you plenty of creative control without drowning you in options.
Using Mixbook feels a bit like digital scrapbooking, but without the mess.
If you’re making your first photobook, it’s a brilliant place to start.
3. A rough idea of the story you want to tell
Don’t panic, this isn’t GCSE English.
You just need a tiny bit of direction:
-
Are you making it sentimental?
-
Funny?
-
Straightforward “here’s what happened each month”?
-
A gift for someone?
Having a vibe in mind helps you pick photos and text later on so the whole thing flows nicely.
And that’s it. You’re ready.
Step 2: Choose a photobook layout
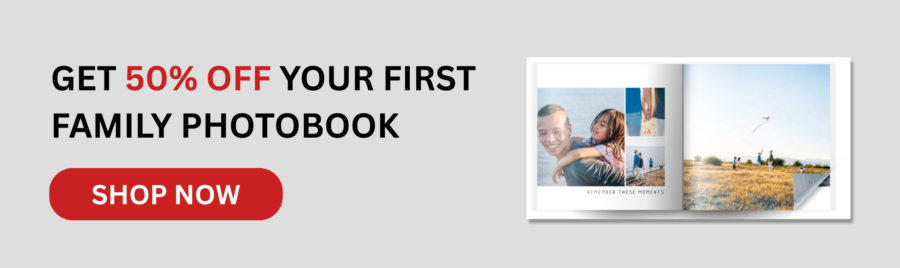
Before you start designing, click this link to apply 50% off your first Mixbook order.
Once you do, at the top of the page, choose your country.
Then head to: Holidays → Family Photobooks in the menu.
Here you’ll find hundreds of beautiful layouts to choose from:
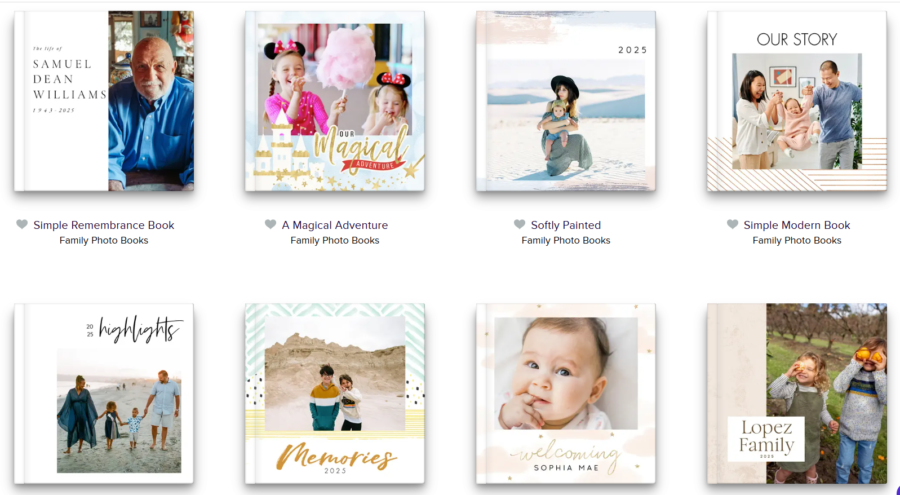
The layout is basically the vibe of your photobook.
Or my personal favourite: Welcoming [your baby’s name].
(You can see it in the above picture.)
Mixbook has hundreds of gorgeous themes.
When I first saw them, I was like, “just one more scroll” about 17 times lol.
The theme sets the tone, helps guide your layout, tells a story, and basically makes your photobook look like you know what you’re doing (even if you absolutely do not).
Once you’ve picked your layout, you’ll land on a preview page.
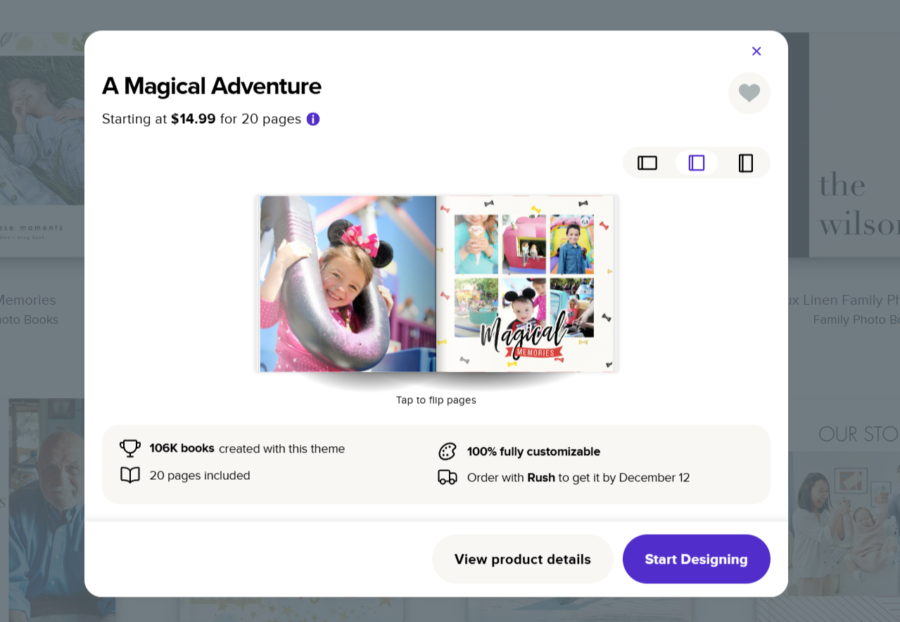
Click “start designing”.
You’ll then enter the design workspace.
Just follow the on screen steps and start dragging your photos in.
Don’t worry, it’s super user-friendly.
Step 3: Upload photos to your photobook
Now you’re inside the design area, yay!
This is where the magic happens.
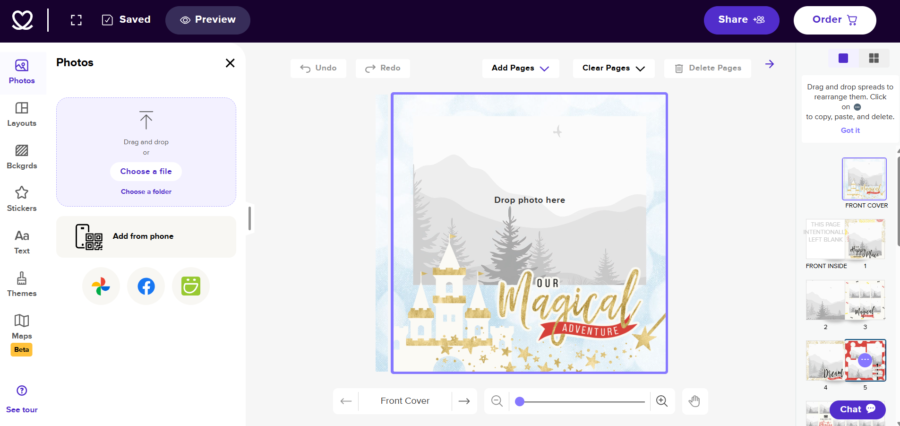
On the left side of your screen, you’ll see the “Photos” tab.
Click Upload Photos and choose where you want to pull them from:
-
Your computer
-
Your phone
-
Google Photos
-
Facebook
-
Instagram
Mixbook gives you all the options because it knows we store photos in 14 different places.
A quick tip so you don’t spiral:
You do NOT need to upload every photo you own.
Stick to the selection you picked earlier – 40 to 120 is perfect.
You can drag and drop them into your photobook pages like a very organised game of Tetris.
If you accidentally drop the wrong photo in the wrong place, don’t worry.
Just drag it back out.
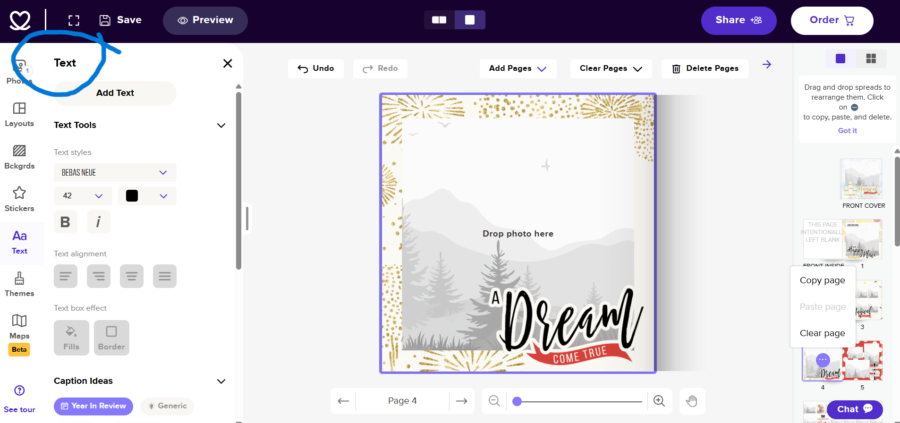
Step 4: Add text to your photobook (optional)
Your photos are lovely on their own, but adding text is what turns a collection of pictures into a story.
Think of captions, dates, or little anecdotes as the voice of your photobook.
On Mixbook, adding text is super simple:
-
Click the “Text” tab on the left-hand side.
-
Pick a style you like: there are plenty of fonts, sizes, and colours. Keep it readable and cute.
-
Drag the text box onto the page and start typing.
A few quick tips:
Less is more. Short captions read better than paragraphs.
Use 2–3 fonts max . One for headings, one for captions; it keeps your book looking polished.
If you choose no text, that’s totally fine too!
Once your text is added, scroll through the pages and make sure everything flows nicely with your photos.
Once you’re happy with how everything looks, click Preview.
Check that each page feels just right: the captions, the photos, the little story you’ve told.
If it does, click Place Order, sit back, and get excited.
Your photobook is ready and will soon be on its way!
Enjoy your first custom children’s photobook!
And that’s it!
You’ve officially turned your scattered photos into a story you can hold in your hands and go back time decades from now.
So go ahead, start scrolling, dragging, captioning… and enjoy every second of it.
Trust me, your future self (and your kids) will thank you!
Your next read:
- The Truth About Kids Growing Up Too Fast – And How I Finally Stopped Feeling Sad
- How I Became More Patient With My Children (Without Meditation Or Yoga)
- Affordable Birthday Ideas for Children: Make Their Day Special Without Guilt